A GPX (GPS Exchange Format) file stores geographical points that a route app or bike computer can display. It helps you follow a route; it does not confirm access, surfaces or current closures. This guide takes you from creating or importing a route to checking the day’s timing and testing navigation before leaving home.
1. Create or import the route
Choose the cycling type that matches the ride in your planner. If starting with a GPX file, use the app’s import procedure and inspect the result. Confirm that the start, finish, direction and overall distance match what you intended.
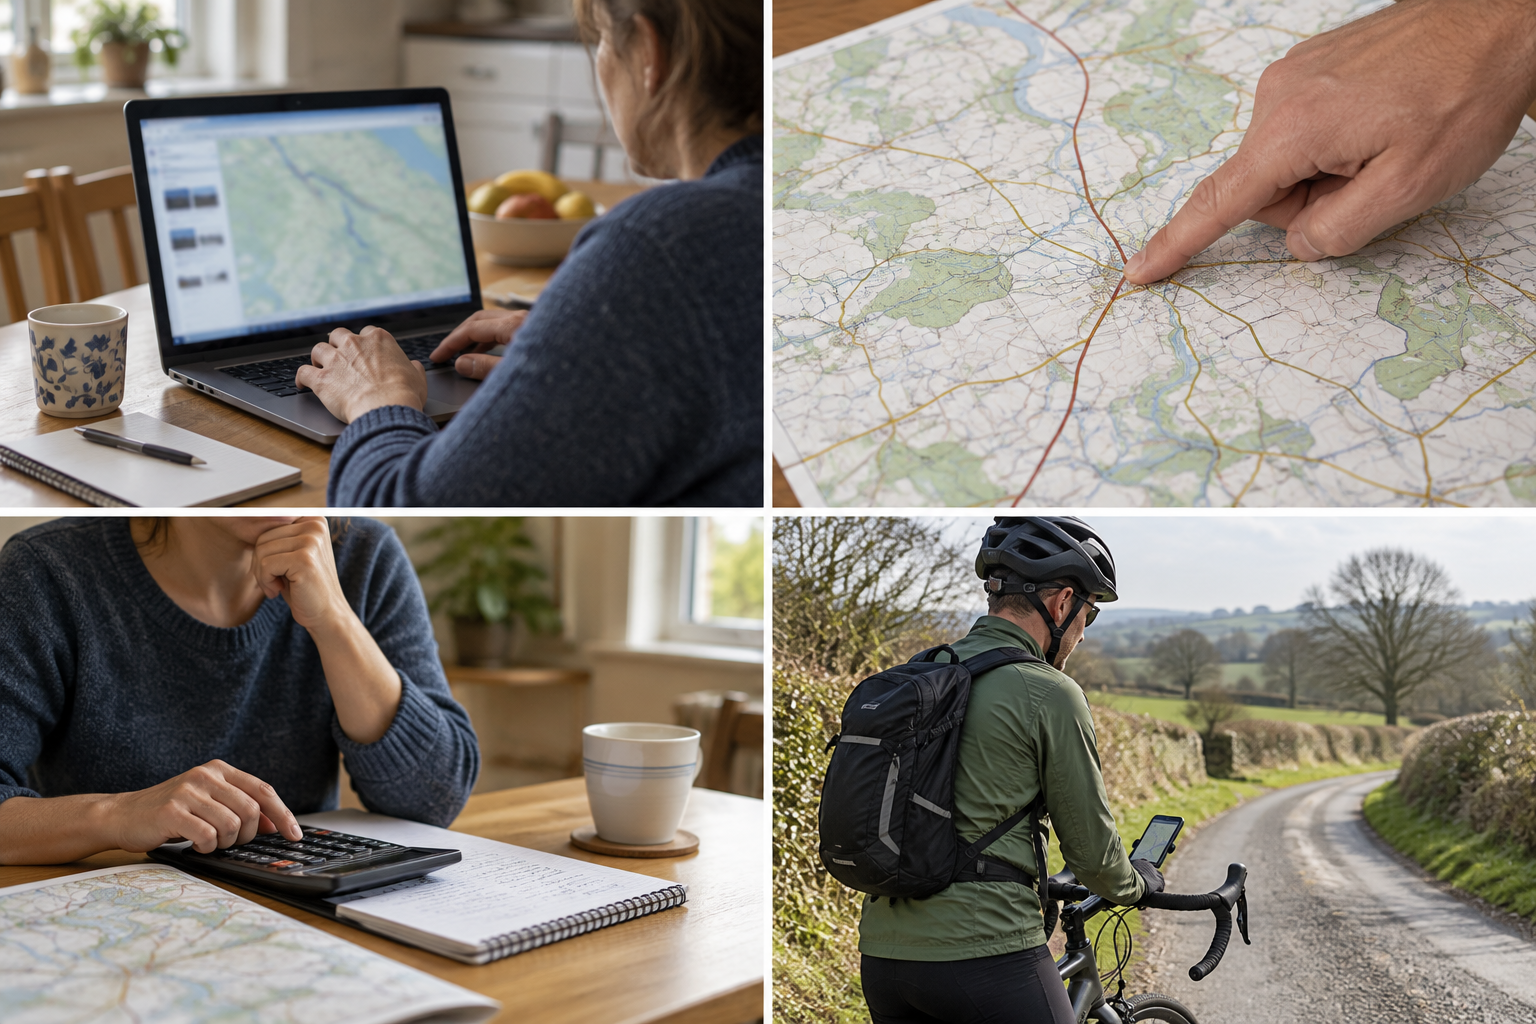
Give the saved route a recognisable name. If the imported line has gaps or unwanted connections, correct them before sending it to your riding device. Menu names differ between apps; use the instructions for the actual service rather than selecting a similar-looking option at random.
2. Inspect the sections that could change the day
Zoom in on road-to-track transitions, busy junctions, crossings and uncertain access. Review elevation (height changes) and the roughest surface, including the return leg. Check uncertain sections with the relevant operator and save a usable alternative.
A map line can look reassuring at a wide zoom while hiding an awkward crossing. Wet weather can also change whether a track suits your bike. If the information is insufficient, reroute rather than treating a shared GPX as a guarantee.
3. Work out elapsed time and an exit
Moving time counts only riding. Elapsed time includes lunch, navigation, photographs and delays. For an example, 45km at an assumed 15km/h gives three hours moving; adding 45 minutes for lunch, 20 for smaller stops and 30 for delays gives four hours 35 minutes overall.
Work backwards from a fixed train or finish time, allowing for the final approach. Save a shorter return and a decision point, such as taking the short route if you reach a junction after 13:30. Check the actual service’s bike-carriage conditions before relying on a station as an exit.
4. Test the saved navigation
Transfer the route to the phone or bike computer you will use and download the required maps through its offline procedure. Offline means available without mobile data; saving a route title alone may not include the map detail. Check any account or region requirements.
Open the route without a live data connection and inspect the detail you need before leaving. Charge the device and carry a suitable backup. If the route opens but map detail is missing, complete the map download rather than assuming navigation is ready. After the ride, record actual time and awkward sections to improve the next plan.
Join the discussion
What has worked for you? Share your experience or ask a question about this article.
Sign in with GitHub to comment. Your comment and GitHub profile name will be public. Comments appear when posted and may be moderated afterwards.
Keep replies relevant and respectful. No spam, personal information or unsupported accusations. Discussion and privacy information.