Heel strike means your shoe catches the front of a pannier as you pedal. It usually needs a fit or packing change, rather than a change to how you pedal. This guide helps you find the contact, adjust the approved mounting system and decide when a different bag or rack is needed. Have your normal shoes, loaded bag, mounting instructions and a safe way to support the bike ready.
1. Pack the bag as you use it
Load your usual belongings within the bicycle, rack and bag limits, then close and attach the pannier correctly. A soft bag can bulge towards your heel when packed, even though the empty version looks well clear.
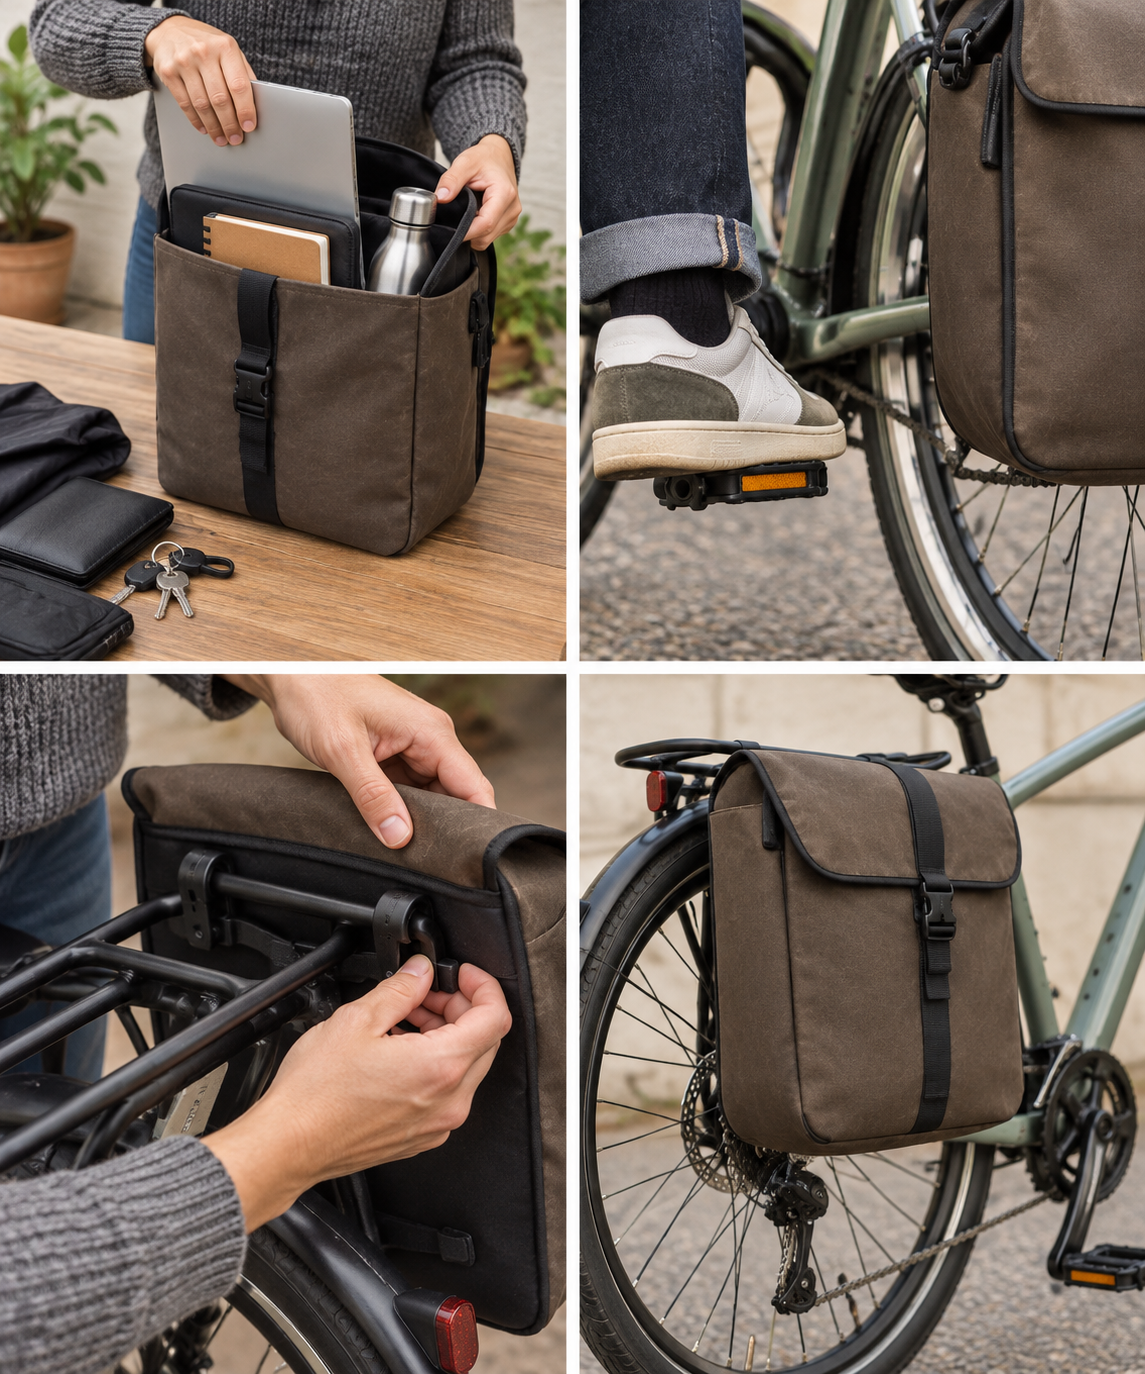
Check that the load is contained and the bag can close normally. Reduce an excessive or badly packed load before adjusting the fit. Bag shape and position matter as well as litre capacity.
2. Find the contact point
Wear your usual shoes. With a helper or suitable stand supporting the bicycle safely, put your feet in their normal pedal positions and turn slowly through a complete rotation. Check both sides and keep hands away from the chain and wheel.
Watch the bag’s front corner as the heel passes. Note whether contact comes from the whole bag position or a loaded bulge. If you cannot support the bicycle safely for the check, ask a shop to demonstrate it rather than trying to balance awkwardly.
3. Adjust the mounting, not your pedalling
Follow the exact bag instructions to move its upper hooks along their permitted rail. Shift the bag rearwards only within the allowed range, leaving both hooks fully supported and latched. Reposition the lower retaining hook or restraint as directed so it still limits movement towards the wheel.
Retest the pedal rotation after each approved adjustment. Moving the top hooks alone can leave the bottom insecure. Do not bend hooks, drill mounting rails or omit a restraint to gain space. If the available adjustment cannot solve the contact, compare another approved bag shape or rack.
4. Check the complete fit before riding
Confirm that the loaded bag and loose straps cannot reach the spokes, tyre, brake or chain. Check the rear light remains visible. Once the stationary fit passes, make a short ride in a quiet place with gentle turning and braking.
Stop if your heel catches or the bag moves. Correct the fit before using it for a commute, and recheck attachments after the first ride and regularly afterwards. A bag that clears your shoe still needs to stay securely attached and clear of moving parts.
When adjustment is not enough
- Choose by dimensions: compare the bag’s height, depth and front-edge shape, as well as capacity.
- Try a different approved rack: one with a suitable rearward mounting position may help, provided the bicycle and rack maker approve the fit.
- Reduce bulky packing: stop soft items pushing the front panel into your heel’s path.
- Consider another luggage position: a suitable rack-top bag or approved front luggage system may work better; check mounting and load limits separately.
Do not bend hooks, drill a bag’s mounting rail or omit its lower restraint to gain space. Do not change a comfortable pedalling position simply to accommodate a poorly fitting bag.
Join the discussion
What has worked for you? Share your experience or ask a question about this article.
Sign in with GitHub to comment. Your comment and GitHub profile name will be public. Comments appear when posted and may be moderated afterwards.
Keep replies relevant and respectful. No spam, personal information or unsupported accusations. Discussion and privacy information.